


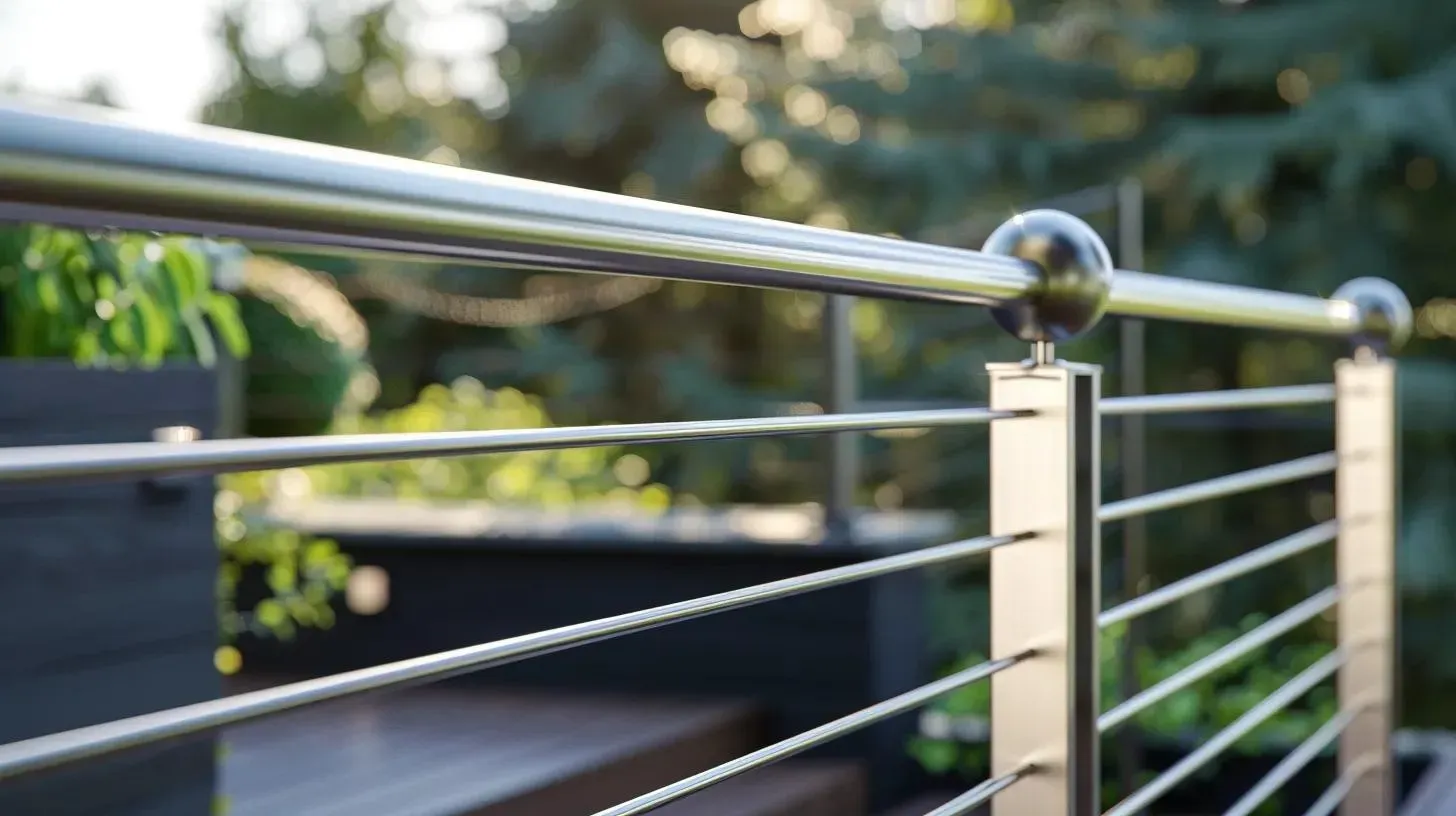
Learn why a railing wobbles and how to tell whether the movement starts at the base plate, post, anchor, or wall mount. Includes a diagnostic table, checklist, examples, and red flags.
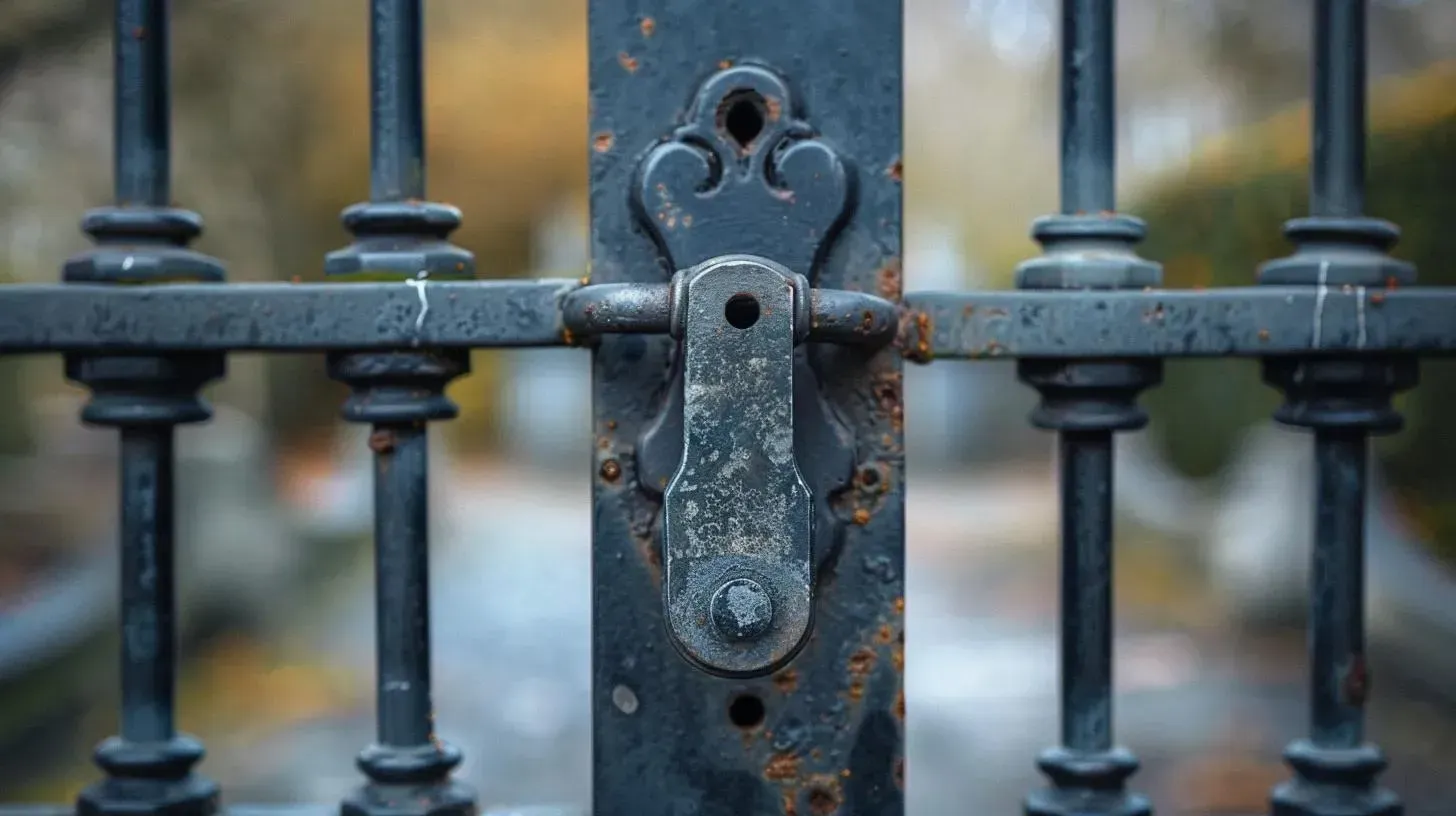
Learn why a gate won’t latch or close and how to tell whether the problem is vertical sag, side-to-side misalignment, binding, or worn latch hardware.

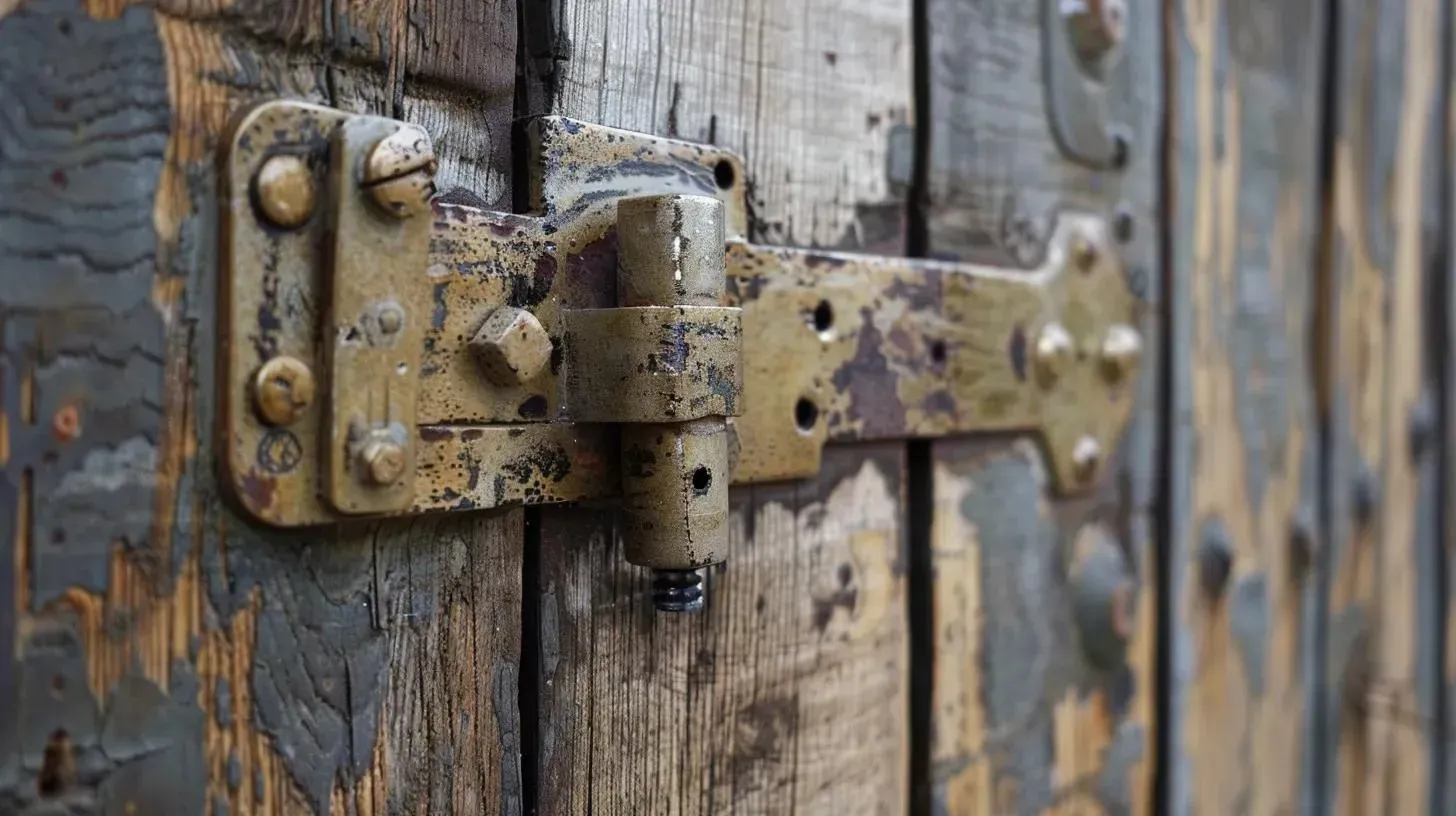
Learn why a gate sags and how to tell whether the real problem is the hinges, the gate frame, or the post. Includes a symptom table, inspection checklist, examples, and red flags.

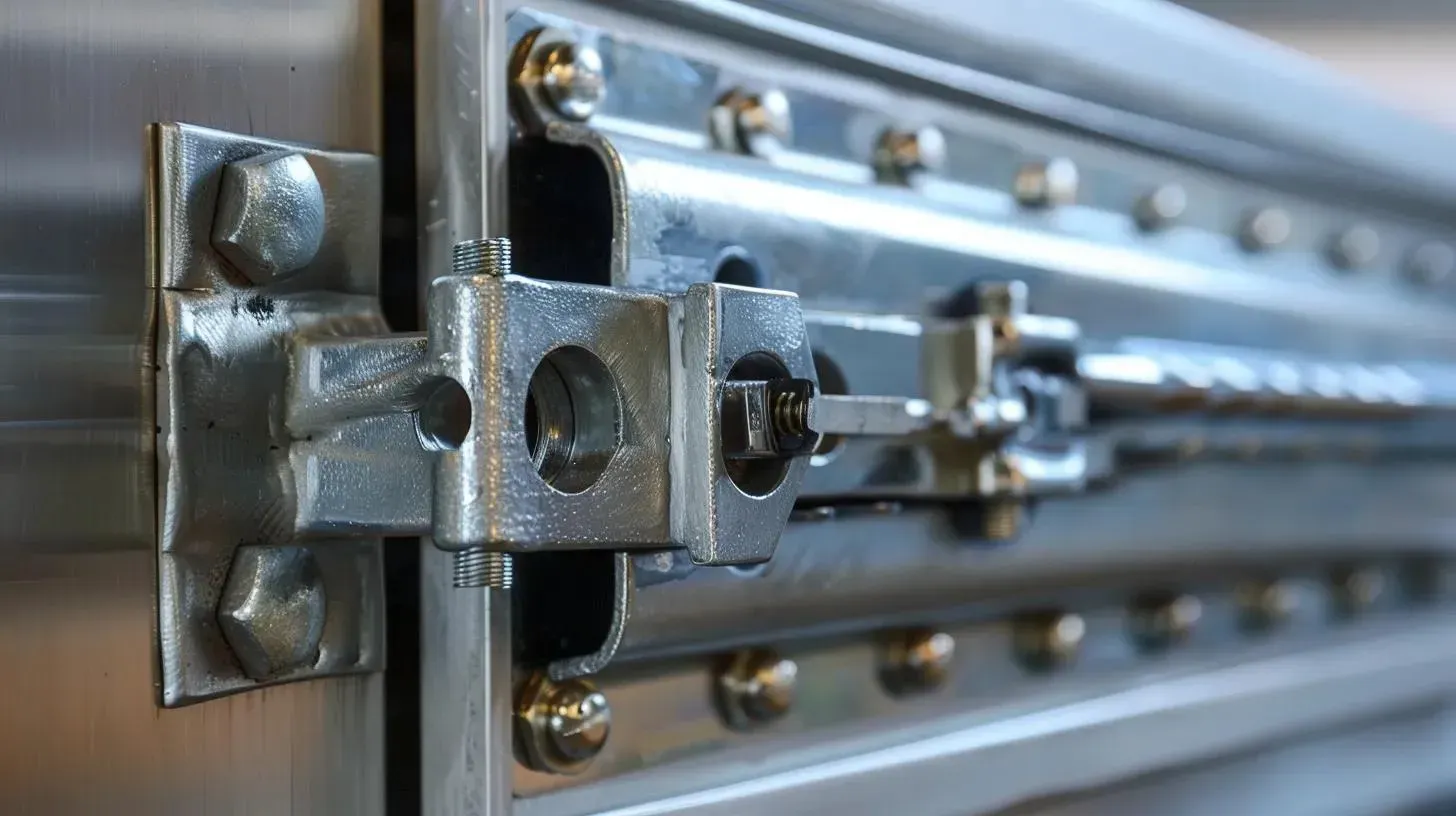
Use this homeowner checklist to vet a mobile welder: safety planning, weld quality signals, insurance, and the questions that prevent repeat failures. Includes a decision table and FAQs.
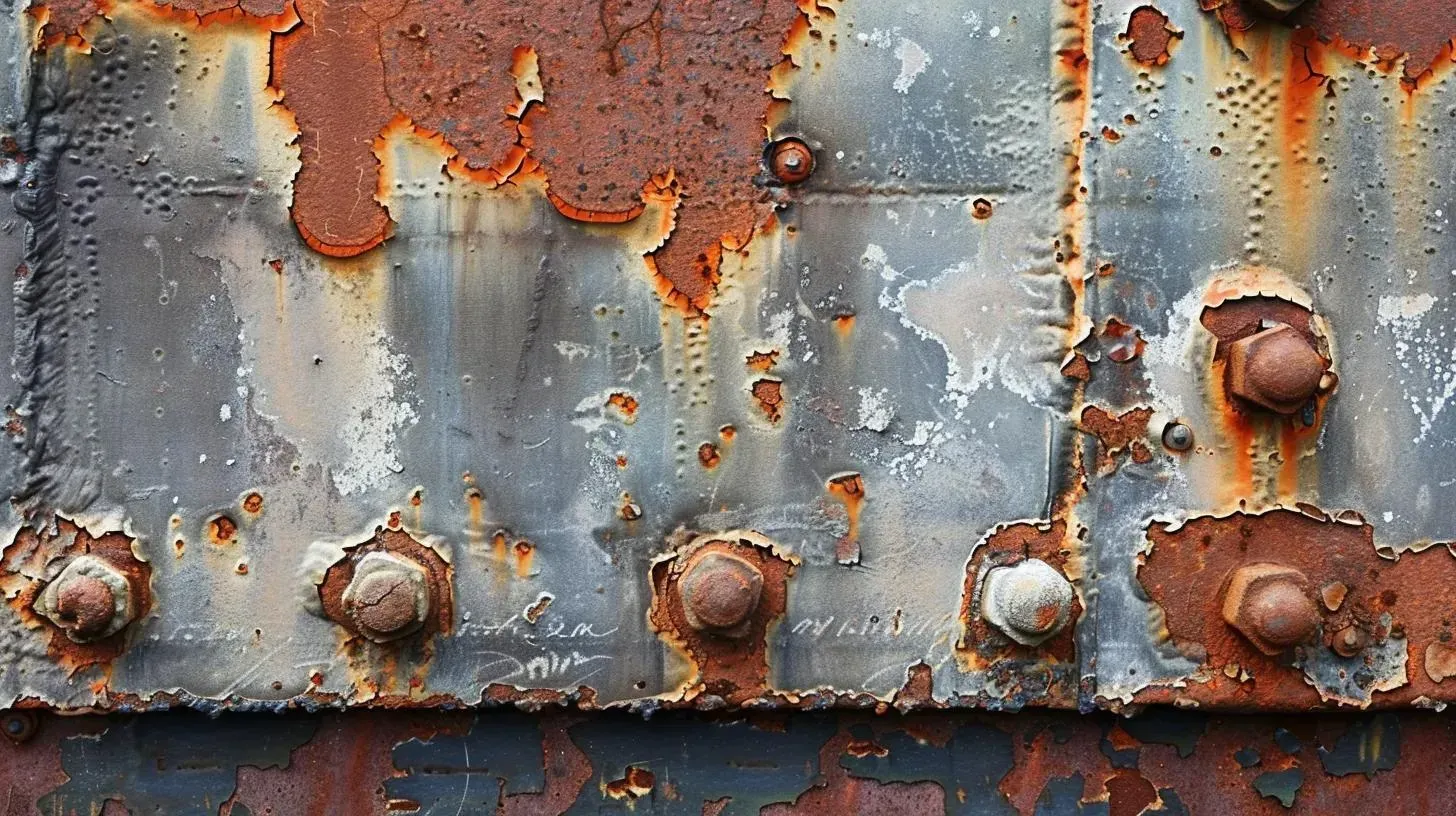
Rust near a weld isn’t always structural—but sometimes it is. Use this diagnostic guide with a comparison table, triage checklist, examples, and red flags to judge risk.

Learn what mobile welders can usually fix on-site, when a shop setup is smarter, and how to decide using a comparison table, checklist, examples, and red flags.

Not sure if it’s safe to tow with a cracked weld? Use this safety decision guide with a stop-use checklist, decision table, red flags, and real examples.

Mobile welding quotes vary based on travel/setup, prep and fit-up, metal type/thickness, access, and finish level. Use the comparison table, checklist, and examples to avoid surprises.

Learn what a quality weld repair looks like, the red flags to watch for (cracks, undercut, porosity), what questions to ask, and a quick decision table for gates, trailers, and brackets.

Steel and aluminum can both be welded—but repairs behave differently. Use this side-by-side guide with a decision table, homeowner checklist, examples, and red flags.