


Learn how to repair drywall damage from small nail holes to large punctures. Step by step techniques for professional looking results on any size repair.

Fix common door problems including sticking doors, squeaky hinges, latching issues, and drafty seals. Practical solutions for homeowners from MsFixIt.

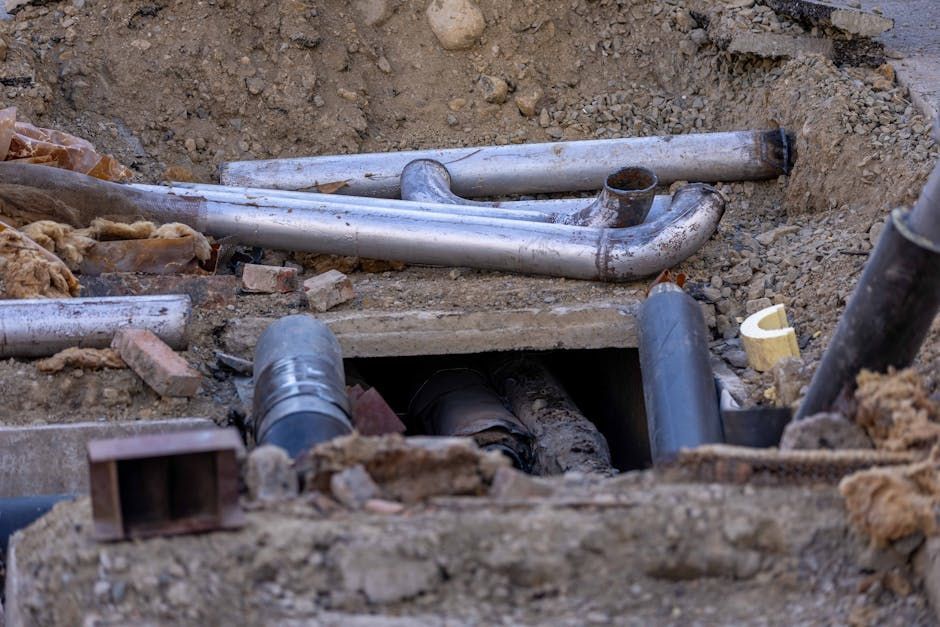
Common household plumbing problems and practical solutions. Learn when to DIY and when to call a professional for dripping faucets, running toilets, clogged drains, and more.

Learn which home repairs you can tackle yourself and which require professional help. Make smart decisions about DIY versus hiring a pro for common household fixes.

Learn the top 5 home repairs that save you money and prevent bigger problems. From leaky faucets to squeaky doors, Miss Fix It Pro shares expert tips for homeowners.

Learn how to identify trustworthy contractors and avoid scams. Miss Fix It Pro shares red flags to watch for and what professional home repair service should look like.